Essential Techniques for Starting Seeds at Home: A Step-by-Step Guide
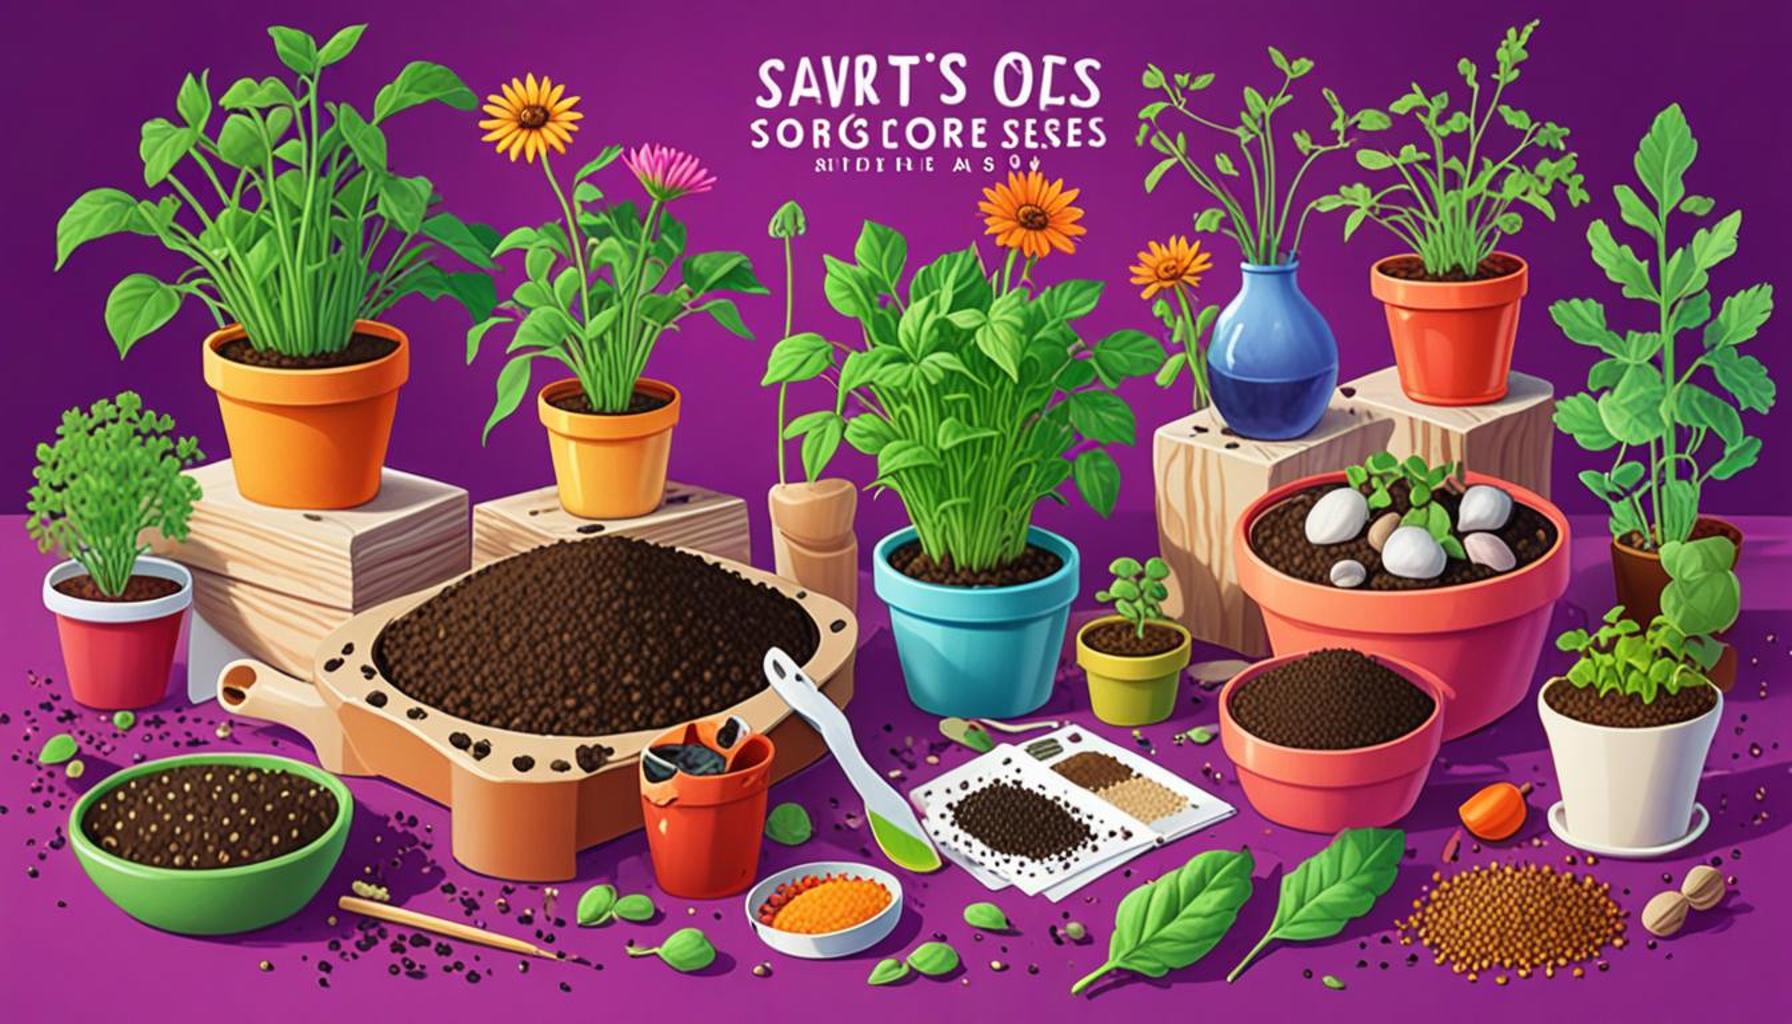
Starting seeds at home can be an incredibly rewarding endeavor, breathing life into your living space and introducing an array of fresh flavors and colors. This process allows you to cultivate everything from fragrant herbs like basil and cilantro to vibrant flowers that attract pollinators to your garden. Armed with the right techniques and a touch of patience, you can initiate a flourishing garden that enhances both your culinary and aesthetic experiences.
Why Start Seeds at Home?
The advantages of home seed starting are extensive, making it an attractive option for many aspiring gardeners:
- Cost-Effective: One of the most notable benefits is significant savings. By starting seeds, you can produce numerous plants for the price of a single store-bought seedling, allowing you to create a full garden without breaking the bank. For instance, a packet of tomato seeds typically costs between $2-$5 and can yield dozens of plants, compared to a single seedling that may retail for $3-$7.
- Variety: Home gardeners have access to an impressive array of seed choices, including heirloom varieties that often deliver superior flavors compared to commercially mass-produced options. Heirlooms, such as the Brandywine tomato or Cherokee Purple, not only offer unique tastes but also tell a story about their cultivation history.
- Control: Starting seeds at home gives you the upper hand in controlling vital conditions such as light, temperature, and soil quality. This control can be crucial for ensuring healthy growth, particularly for plants sensitive to environmental changes. For instance, monitoring soil moisture levels allows you to avoid the common pitfalls of overwatering or underwatering, which can lead to seedling rot or stunted growth.
Key Techniques to Consider
Embarking on your seed starting journey involves several important techniques that will enhance your chances of success:
- Choosing the Right Seeds: Selecting high-quality seeds from reputable suppliers is paramount. Look for seeds that are free from disease, as diseases can cripple your seedlings before they even hit the soil. Companies like Johnny’s Selected Seeds or Baker Creek Heirloom Seeds are known for their robust selections.
- Soil Selection: The foundation of your plants lies in the soil you choose. A well-draining, nutrient-rich soil mix is necessary for healthy seedling development. Seed starting mixes are widely available and often contain components like peat moss and vermiculite, which promote aeration and moisture retention. Remember to avoid using regular garden soil, as it may harbor pests and pathogens.
- Light Requirements: Seedlings have specific light needs to thrive. Ideally, they should receive around 12 to 16 hours of light each day. If natural sunlight is limited, consider investing in grow lights, which can simulate ideal growing conditions and encourage robust growth. LED grow lights are an energy-efficient option that can be positioned close to your seedlings without the risk of overheating.
Each of these steps involves unique tools and methods that can enhance your seed starting experience. For example, using seed trays or peat pots can facilitate easier transplantation later on, reducing shock and improving overall survival rates. With consistency, practice, and the right information, you’ll be well on your way to cultivating a thriving garden that will provide beauty and sustenance throughout the season.
DISCOVER MORE: Click here to learn about soil health and pest prevention
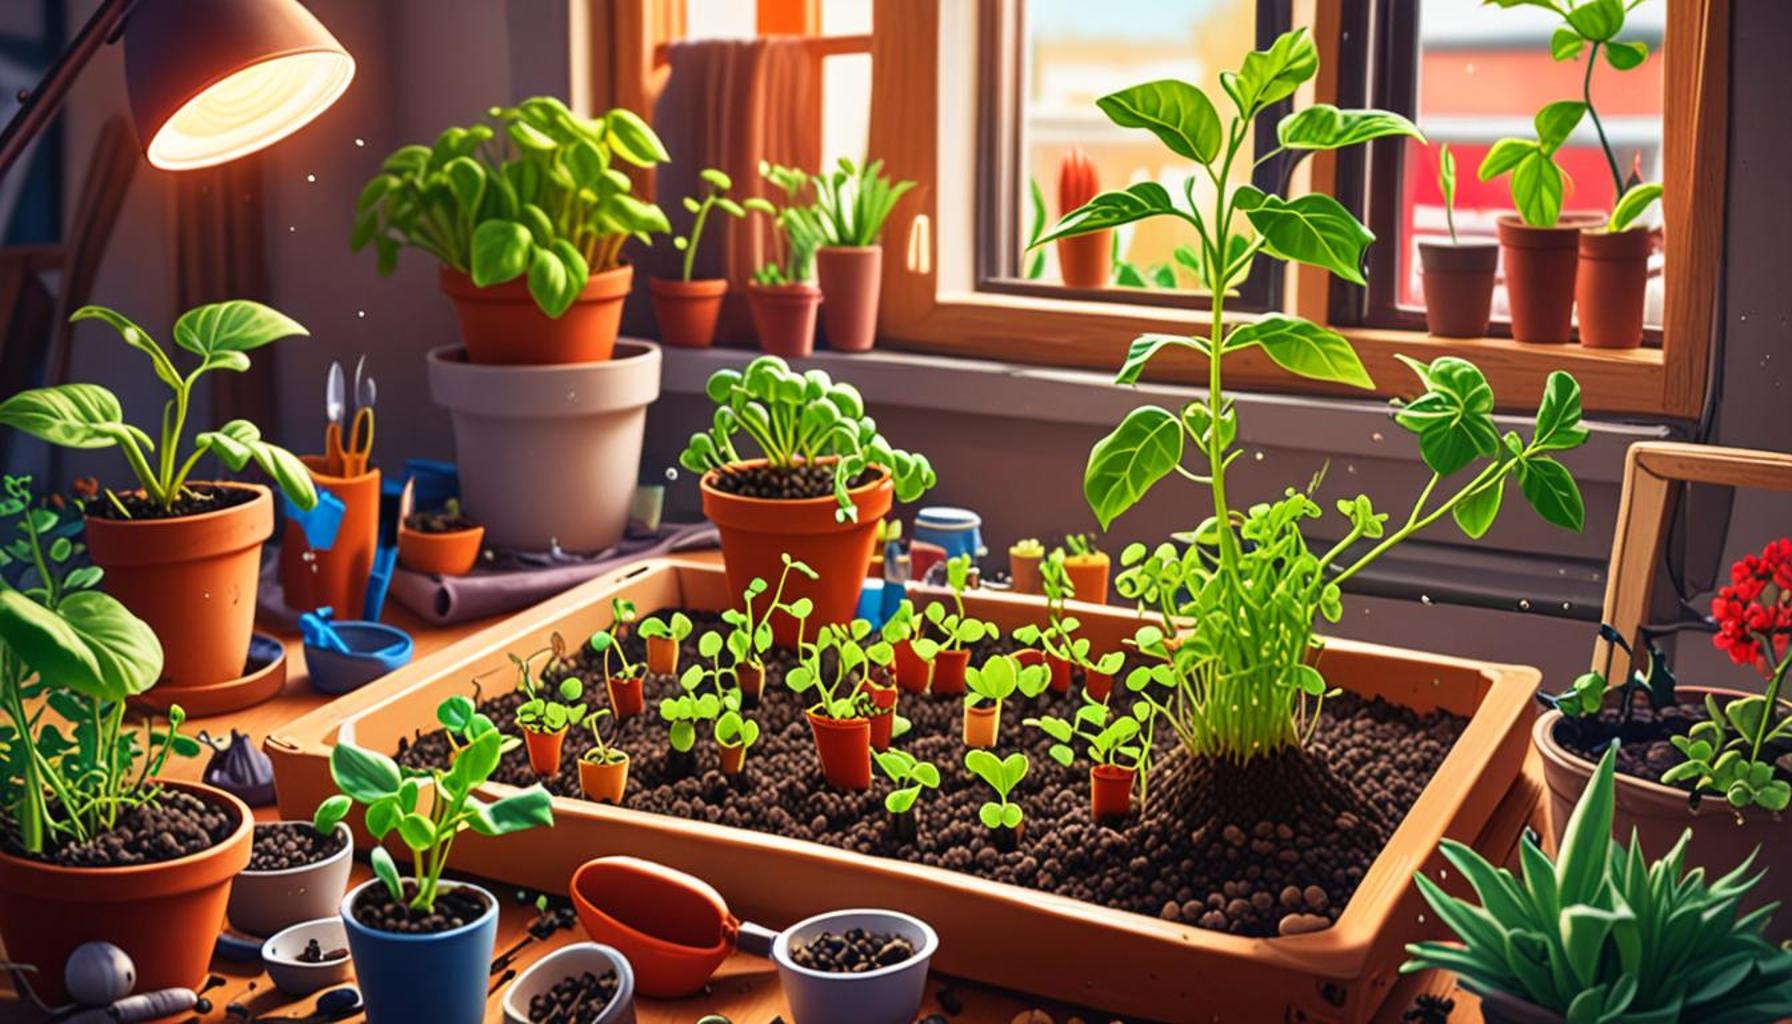
Setting the Stage for Seed Success
When embarking on the journey of starting seeds at home, it’s essential to understand that preparation is key. Each element of the seed-starting process lays the groundwork for vibrant, healthy plants. By cultivating a solid foundation and following a systematic approach, you’ll significantly increase your chances of achieving a flourishing garden. Here are the quintessential steps to consider as you move forward.
Gather Your Supplies
Setting yourself up for success begins with gathering the right tools and materials. The essentials you’ll need include:
- Seed trays or pots: Opt for shallow seed trays for small seeds or deeper pots for larger varieties. Peat pots or biodegradable options are excellent for easy transplanting.
- Potting soil: A sterile, light seed-starting mix is preferred, as it reduces the risk of soil-borne diseases that can harm seedlings.
- Watering can or spray bottle: These tools allow you to maintain consistent moisture levels without displacing your seeds.
- Labels and markers: Clearly label your trays to keep track of which seeds you’ve planted, avoiding any confusion as they begin to sprout.
- Light source: Decide if you’ll use natural sunlight or artificial grow lights to meet the light requirements of your seedlings.
Gathering these supplies in advance will streamline your planting process and reduce unnecessary obstacles later.
Timing Your Planting
Understanding when to start your seeds is crucial, as it dictates your garden’s overall success. Timing varies depending on the type of plants you want to grow and your local climate. Here are some key factors to consider:
- Last frost date: Consult your local extension service or gardening resources to determine the average last frost date for your area. This date is a pivotal marker for sowing seeds outdoors.
- Seed package instructions: Seeds come with specific planting guidelines that indicate whether they should be started indoors or directly sown into the garden. Always adhere to these recommendations for optimal results.
- Growth habits: Some plants, like tomatoes and peppers, benefit from an early start indoors, typically 6-8 weeks before the last frost date. Others, such as radishes or peas, can be sown directly outdoors as soon as the soil can be worked.
By connecting the timing of your planting to growing conditions, you’ll set the stage for robust seedlings ready to thrive in your garden.
Preparing the Soil
The quality of your soil directly impacts your seedlings’ growth. A rich yet lightweight mix that drains well not only supports strong root development but also provides essential nutrients. Here are tips for preparing your soil:
- Moisten the mix: Before planting, lightly moisten your seed starting mix. It should be damp but not overly wet; too much water can lead to fungus and rot.
- Fill trays appropriately: Fill your seed trays or pots, leaving about a half-inch from the top to avoid spillage when watering.
- Firm down the soil: Gently press down the soil to eliminate air pockets, which can prevent seeds from making good contact with moisture in the soil.
By taking the time to adequately prepare your soil, you create a nurturing environment that will help your seedlings emerge strong and healthy. As you delve deeper into the seed-starting process, keeping these essential techniques in mind will ultimately guide you towards creating a thriving home garden that not only delights but also nourishes throughout the seasons.
| Technique | Advantages |
|---|---|
| Soil Preparation | Enhances nutrient availability leading to healthier seedlings for optimal growth. |
| Temperature Control | Ensures a consistent warmth, which accelerates germination and retention of moisture. |
| Proper Watering Techniques | Prevents overwatering or underwatering, essential for seedling survival. |
| Lighting Solutions | Provides the right light conditions to cultivate strong, healthy plants. |
When starting seeds at home, understanding and implementing essential techniques is crucial to ensure a successful gardening experience. Soil preparation involves selecting the right mix tailored for the specific seeds. The advantages of a well-prepared soil include enhanced nutrient availability and an optimal environment for seeds to thrive. Additionally, controlling the temperature is vital. Ideal warmth promotes rapid germination, encouraging seeds to sprout faster and develop robust root systems.Watering techniques also bear significance. Too much or too little water can hinder seedling growth. Establishing a consistent watering routine based on humidity and soil moisture can prevent seedlings from becoming stressed. Lastly, lighting solutions cannot be overlooked; providing the right type and amount of light ensures seedlings grow sturdy, minimizing leggy growth. Each of these techniques contributes to nurturing stronger plants, leading to a flourishing garden.
DISCOVER MORE: Click here to learn how to choose the best plants
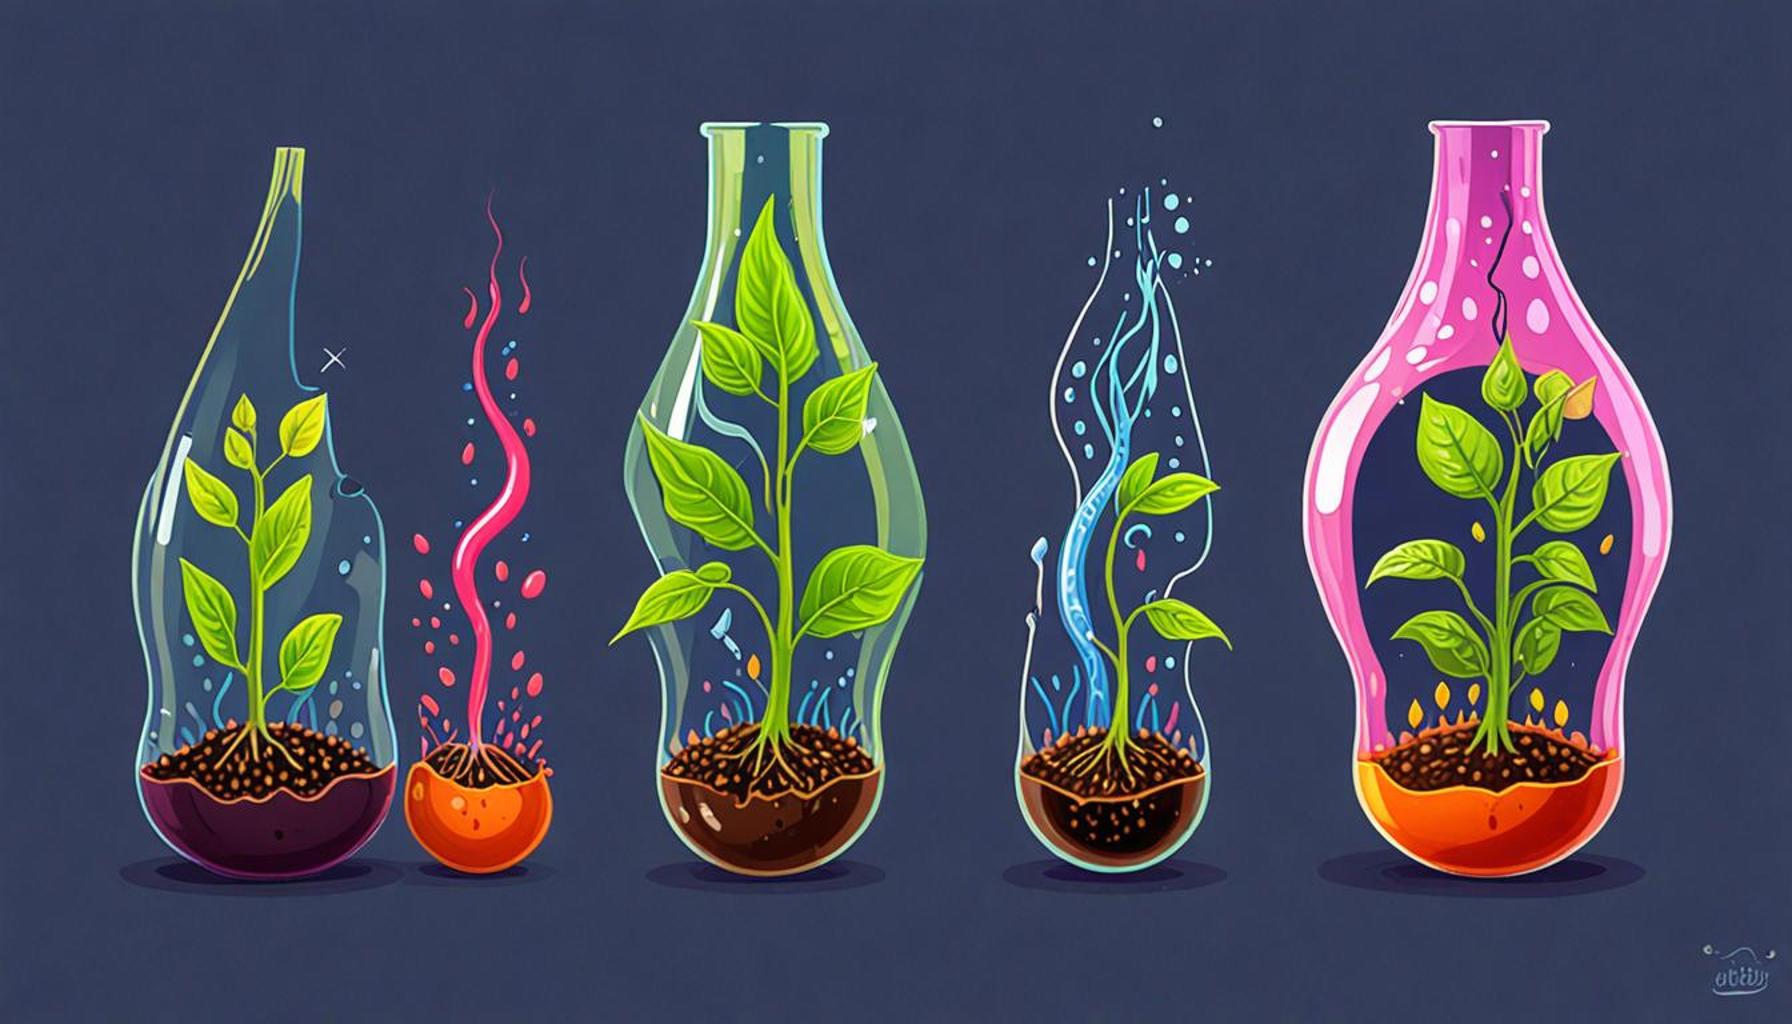
Mastering the Art of Seed Germination
After setting the stage with the right supplies, optimal timing, and quality soil, the next crucial phase in starting seeds at home is germination. This process marks the transition from a dormant seed to a sprouting plant, and understanding the factors that influence germination can significantly impact your success. Let’s explore the essential techniques involved in helping your seeds take that vital first step.
Creating the Right Environment
To encourage germination, seeds require specific environmental conditions that can vary widely. Here are key aspects to consider:
- Temperature: Most seeds germinate best in a warm environment, usually between 65°F and 75°F. Using a seedling heat mat can help maintain consistent heat, especially crucial for plants like tomatoes and peppers that thrive in warmer conditions.
- Humidity: Maintaining humidity is vital for seed germination, as it prevents the soil from drying out too quickly. Cover your trays with a clear plastic dome or a plastic wrap, allowing moisture to circulate while still receiving light. Remember to remove the cover once seedlings sprout to prevent mold growth.
- Light: Although seeds don’t need light to germinate, once they break through the soil, they will require plenty of it. If using artificial lighting, ensure that seedlings receive around 12 to 16 hours of light daily, positioning lights about 2-4 inches above the plants.
By carefully controlling these factors, you’ll create a favorable setting that enhances germination rates and promotes strong growth.
Watering Wisely
Maintaining adequate moisture levels is paramount during germination and early seedling development. Here are some watering techniques to keep your planting endeavors on track:
- Bottom watering: This method involves placing seed trays in a shallow basin of water and allowing the soil to absorb moisture from the bottom. This minimizes disturbance to delicate seeds and helps prevent soil from becoming compacted.
- Frequency: Check soil moisture regularly, ensuring it remains consistently damp but not soggy. Overwatering can lead to root rot, while underwatering can halt seedling development. Using a moisture meter can be beneficial in monitoring soil conditions accurately.
Learning to water effectively is an art that can significantly influence the fate of your young plants.
Thinning and Transplanting
As your seedlings grow, thinning them to allow for adequate spacing is essential to prevent overcrowding, which can inhibit growth and increase disease risk. Here’s how to approach this task:
- Timing: Thin your seedlings once they have developed their first set of true leaves, ensuring that remaining plants have enough room to grow without competing for essential resources.
- Method: Use scissors to snip off unwanted plants at the soil line; this approach minimizes root disturbance to the remaining seedlings.
- Transplanting: When seedlings outgrow their initial pots or trays, it’s time for transplanting. Move them to larger containers to facilitate growth, ensuring that the new soil is rich and retains moisture well.
Transplanting can be daunting, but with careful handling and attention to their needs, your seedlings will thrive in their new environment.As you continue honing these techniques for seed germination and nurturing seedlings, remember that practice makes perfect, and each planting season offers valuable learning experiences. Employing these strategies diligently contributes to your garden’s health and productivity, ensuring your homegrown harvest is as bountiful as it is rewarding.
DISCOVER MORE: Click here to learn about companion planting
Conclusion: Cultivating Success from Seed to Sprout
As we wrap up this comprehensive guide on the essential techniques for starting seeds at home, it’s clear that nurturing plants from seed to seedling is both an art and a science. Successfully germinating seeds requires a careful balance of temperature, humidity, and light—the three pillars that create an ideal environment for growth. By investing time and attention into these elements, you significantly enhance your chances of witnessing robust seedlings sprout from the soil, ready for their next stage of development.
Moreover, watering wisely and practicing effective thinning and transplanting strategies cannot be overstated. These fundamental techniques ensure that your young plants have ample space and resources to thrive, avoiding overcrowding and maximizing their potential. With practice, you’ll develop a keen understanding of your plants’ unique needs, which can transform your gardening experience into a successful venture.
The journey of starting seeds at home invites a sense of fulfillment that goes beyond mere cultivation; it creates a connection to nature and an appreciation for the effort required to bring life from the soil. As you embark on your gardening adventures, remember that each seed sown represents not just the possibility of a new plant but also the chance to learn and grow as a gardener. Embrace the opportunities this season brings, and don’t hesitate to experiment, as every planting experience deepens your knowledge and contributes to the art of home gardening.
By employing these techniques and reflecting on the various nuances of seed starting, you’ll be well on your way to enjoying a bountiful harvest right from your home. Happy gardening!